
8 Steps On How To Design And 3D Print Jewelry
It is with great pleasure that I present to you how LucasPlus Jewelry came to be - because I believe it is within everyone's capability to design using today's technology! Here are 8 steps on how to create your own jewelry using only your computer, a free 3D design program, and the help of a 3D printing company.
It's the 3D design program I've been using for the past few years because of its easy learning curve. You can download the other free 3D programs like Sculptris, Blender, and Autodesk123D at the Shapeways.com creator tools section. While you're at it, create a profile on Shapeways too.
2. WATCH Youtube Tutorials
Before anything else, start searching for "Sketchup for beginners", "Sketchup basics", "How to design ..... in Sketchup" etc. For every obstacle I encounter while designing, I go to Youtube and ask how-to questions. It's the finest form of free education. Here are the 2 youtube links to get you started in the right direction: Sketchup Tutorial for Beginners - Part One, Sketchup Tutorial for Beginners Part Two. This will give you a basic understanding of how to use Sketchup and how to think in 3D.
3. Find your INSPIRATION.
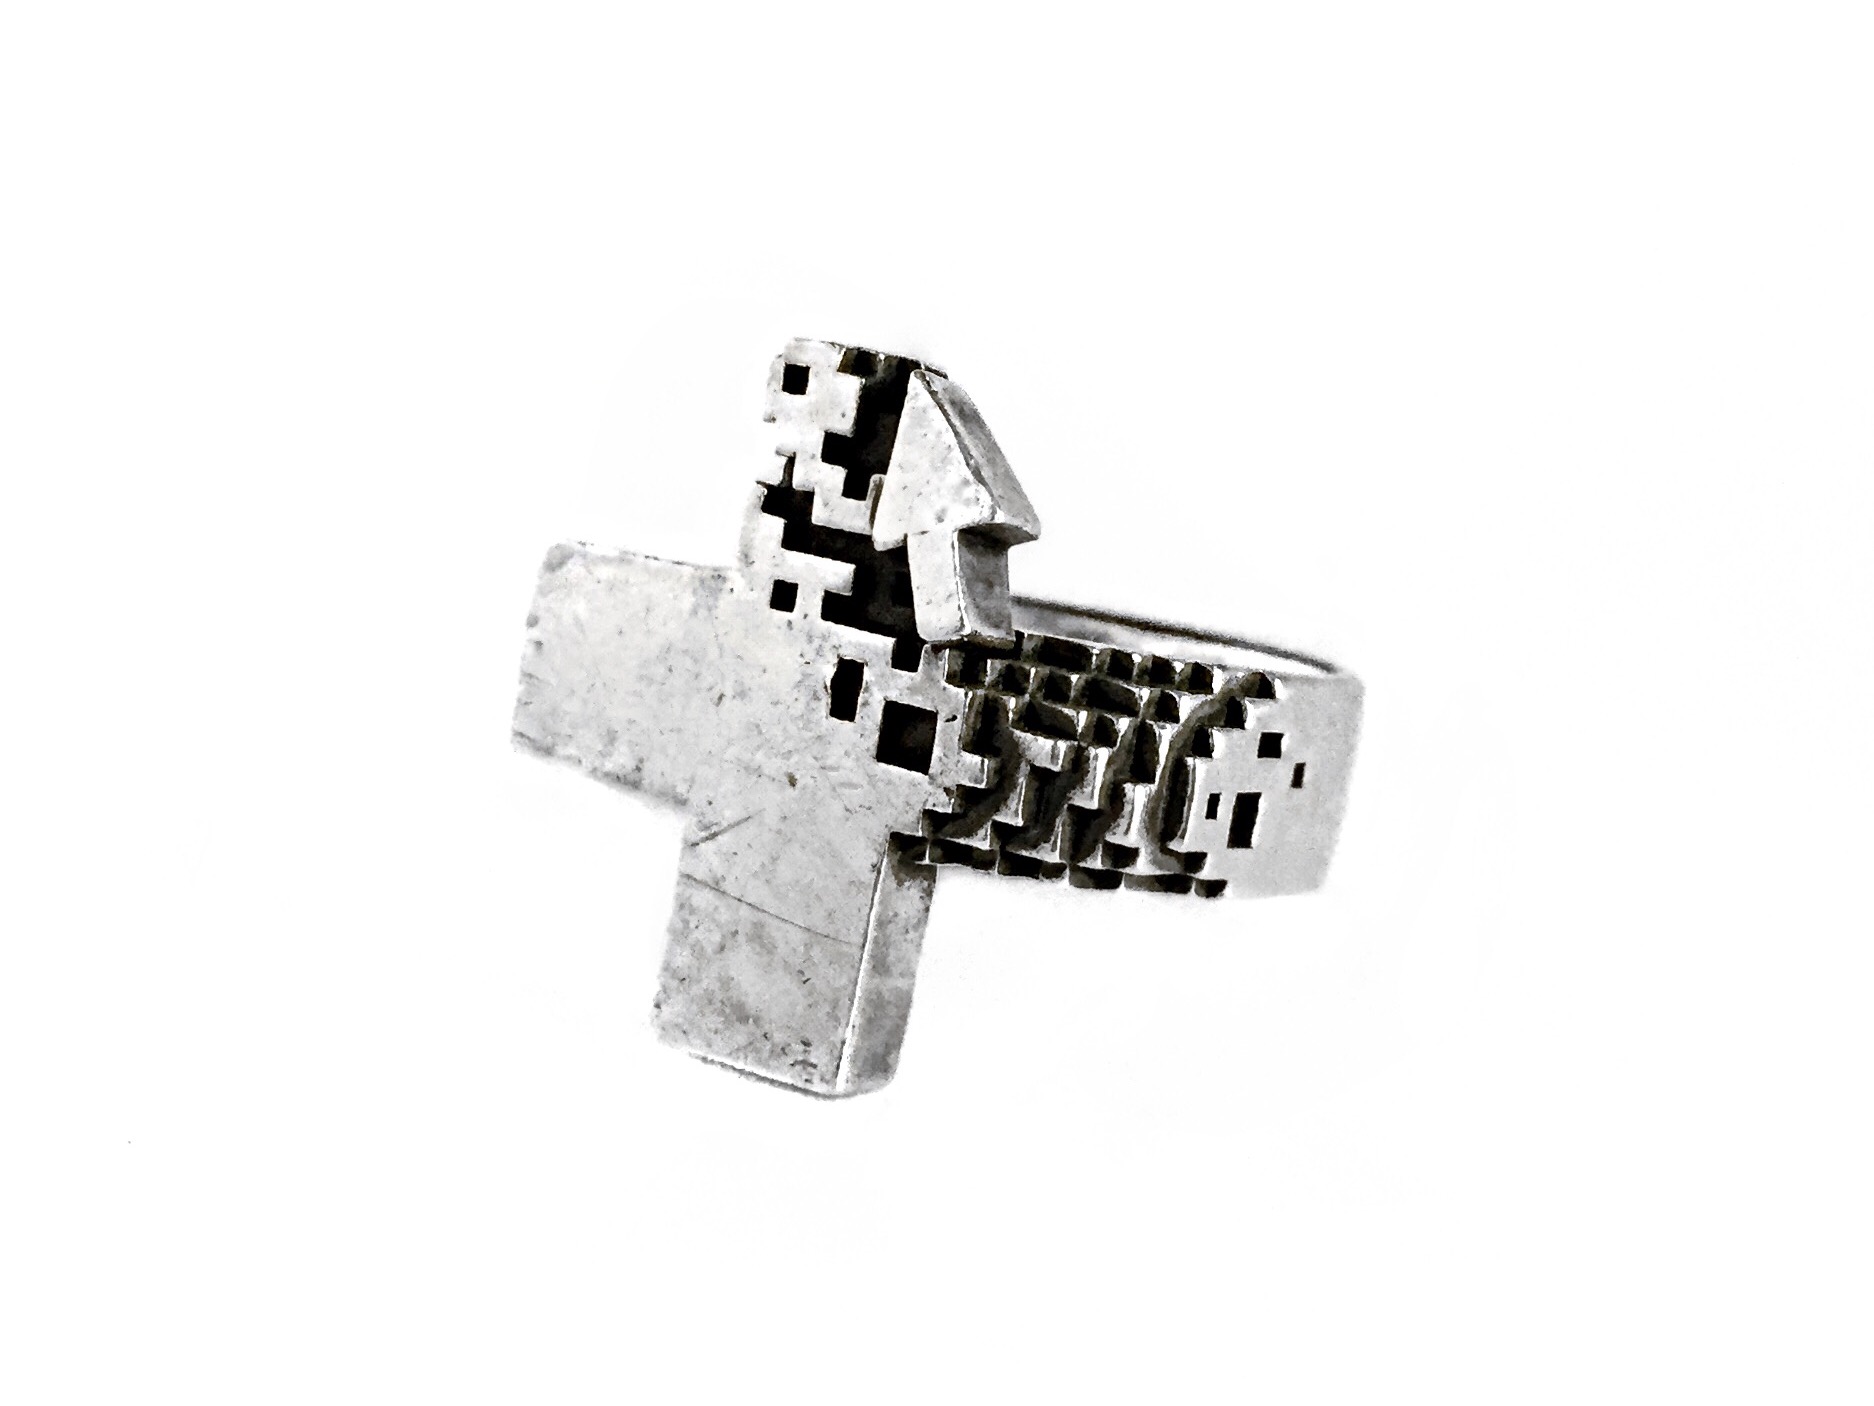
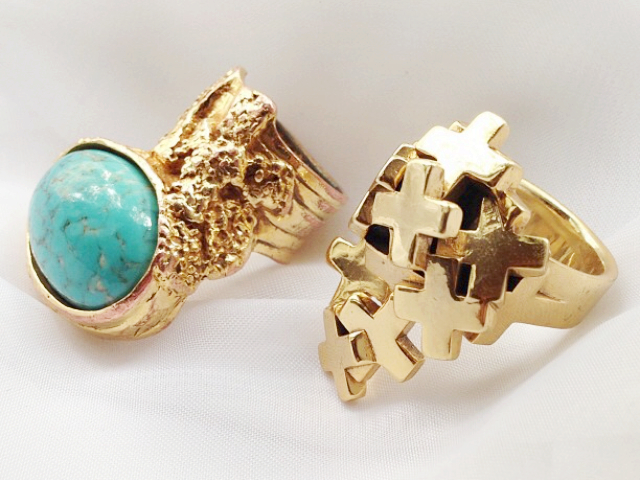
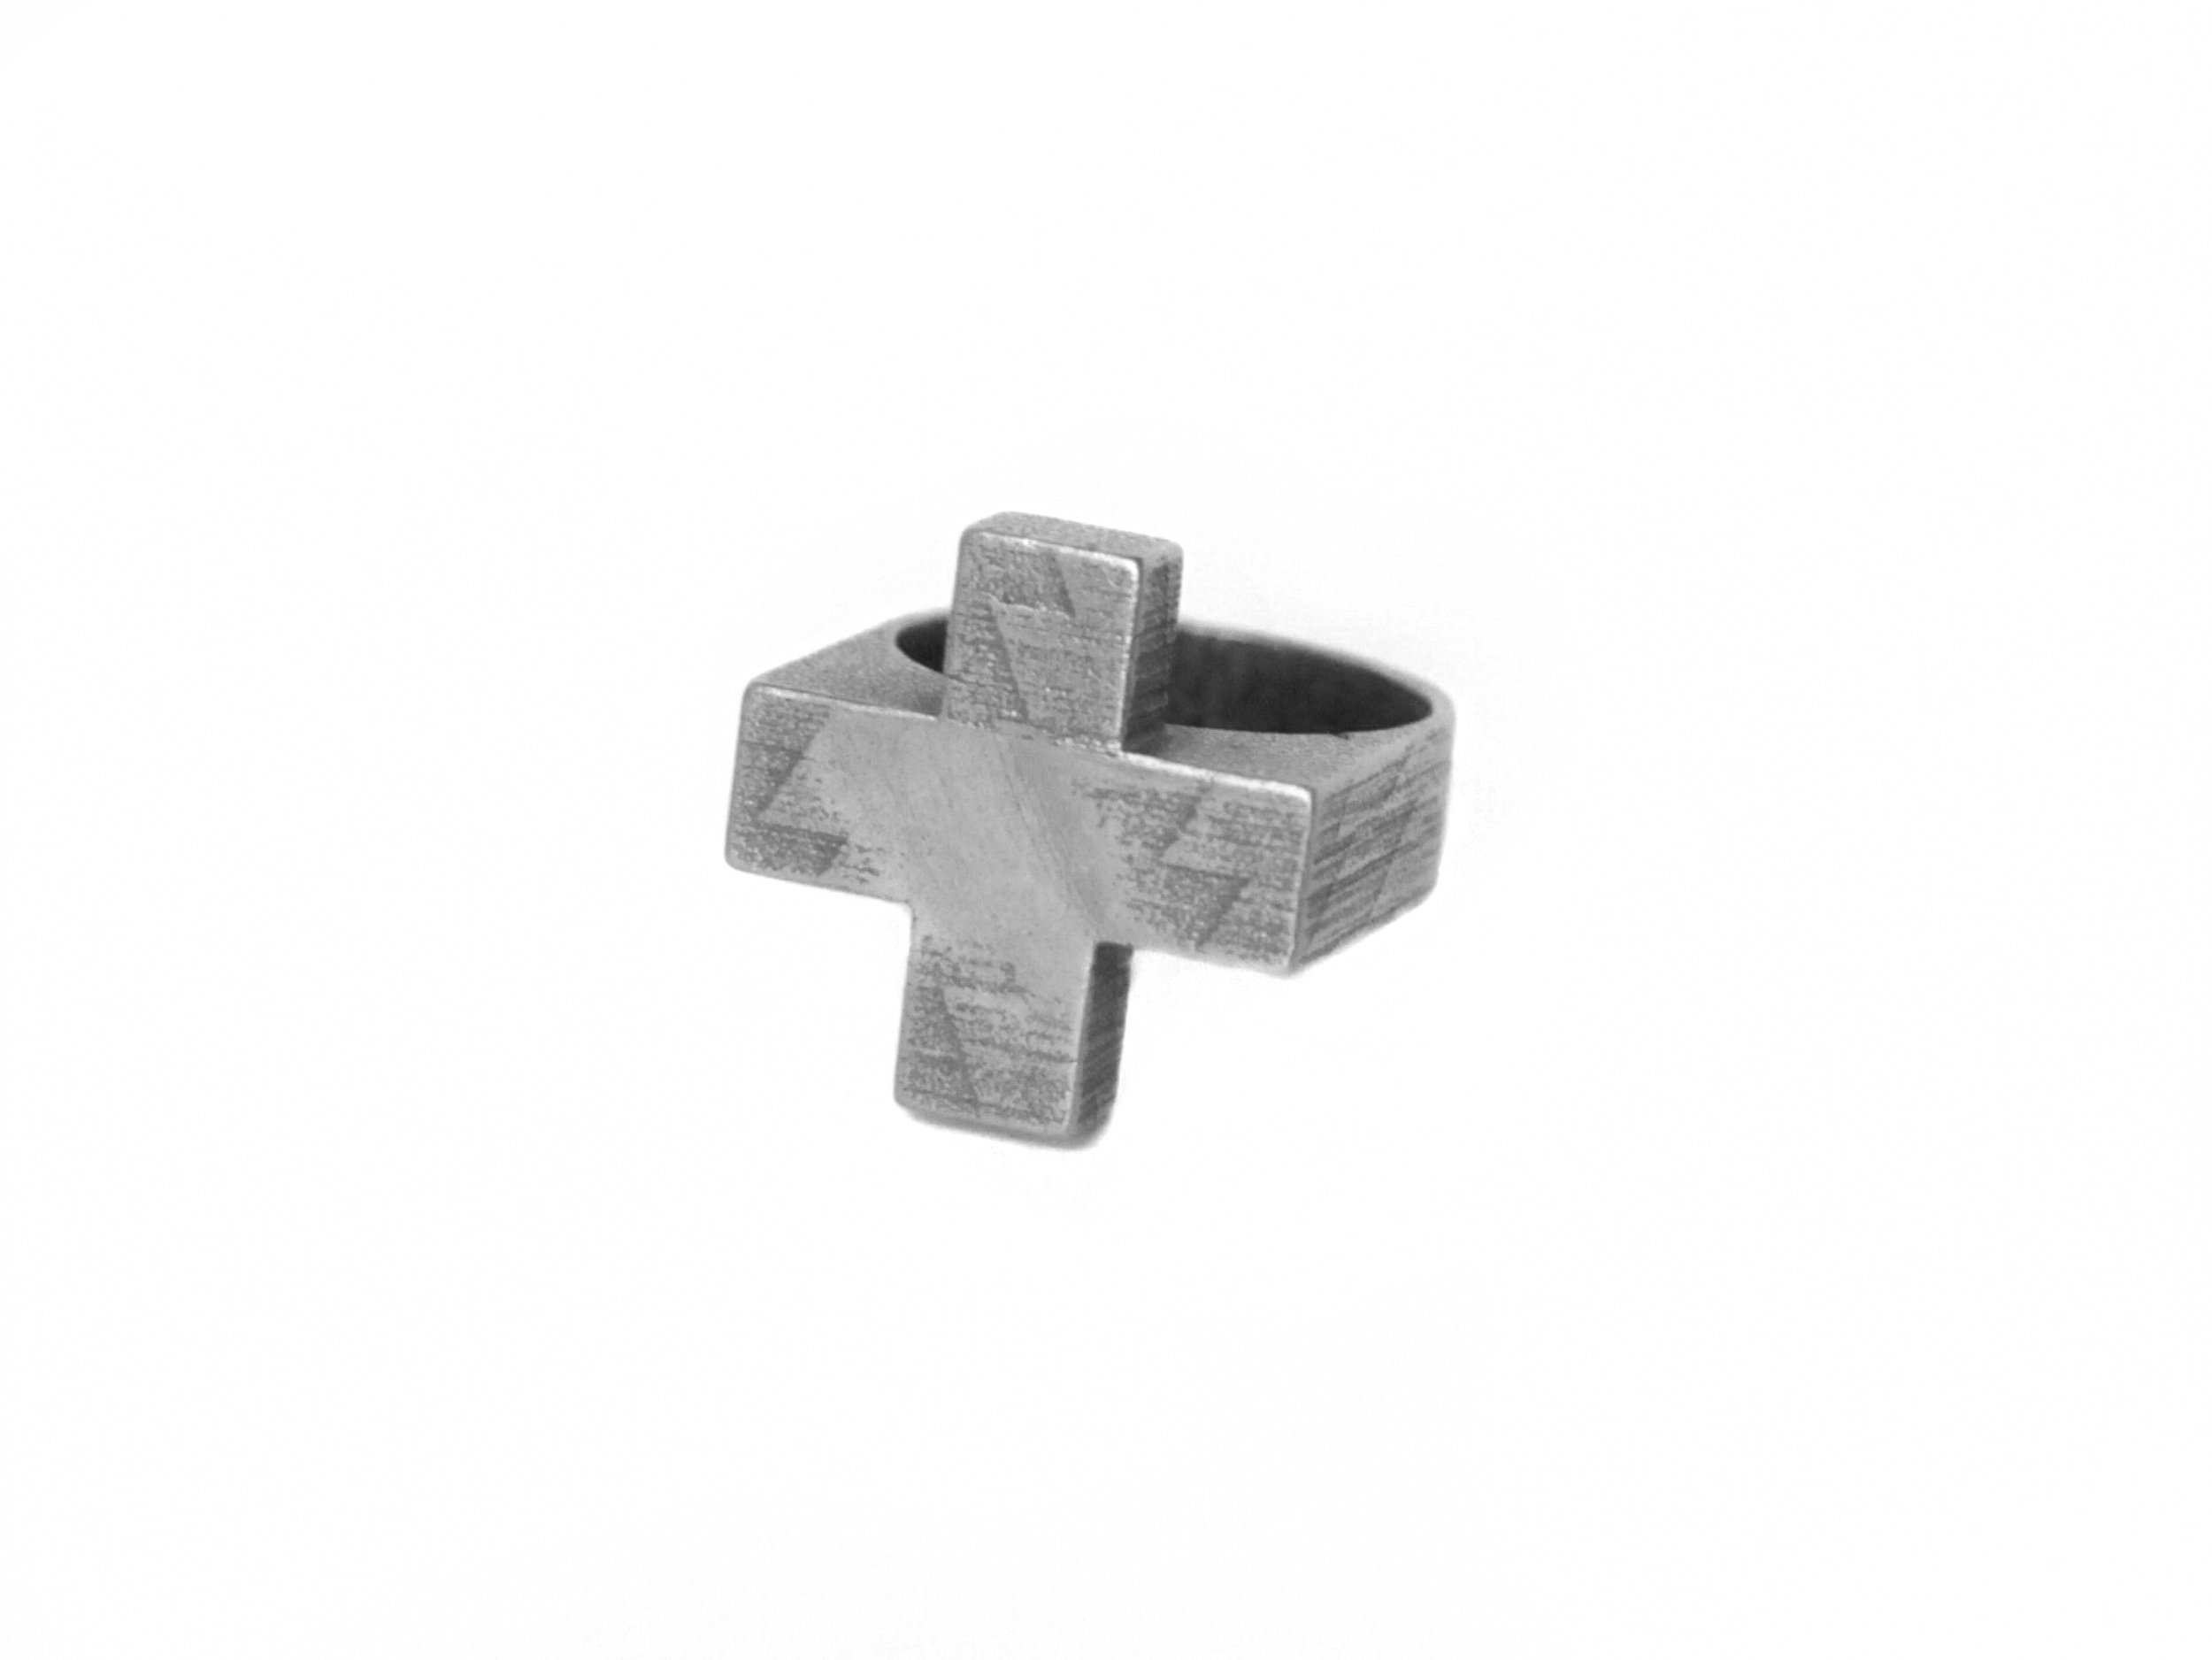
Do you have a favorite symbol? Is there a phrase that speaks to you? A creed/motto you live by? Perhaps you've got a favorite animal, flower, relative, or friend that you feel a deep connection with. Take that idea and really think of how it could be interpreted into a ring, bracelet, or necklace! Have any favorite designers? I happened to be particularly interested by Robert Goossens (my actual grandpa's name, but with no family connection), the amazing jewelry designer who worked directly with Coco Chanel back in the day. Coincidentally, a lot of his designs happen to include a cross, which maybe means he was a fan of positivity like me! In some cases, I'll be inspired by a certain jewelry piece like the Cartier Love Bracelet, the YSL Arty Ovale Ring, or the Balenciaga bracelet I saw at the Museum of Arts and Design.

4. DESIGN
The most important thing is to have fun. It's a little bit like playing with legos but in a three-dimensional pixelated kind of way. One thing I've noticed is that you can't have fun if you're getting frustrated at the program. To beat frustration, beat the program. I can't say how important it is to WATCH TUTORIALS and HOW-TO's. Now I'm going to let you in on a little secret: PLUGINS. Here's a youtube video of all the cool plugins that can help you round edges, create organic surfaces, facilitate your design process, and expand your creative potential tenfold! And here's a youtube video on how to download and install plugins. My most-used plugins happen to be RoundCorner, Joint Push/Pull, Tools On Surface, and Mirror. If this all sounds too techy, don't worry, the tools that are already on Sketchup are amazingly powerful.
5. SIZING
When first opening Sketchup, it'll ask you what template you want to work in, whether you want to work in large scale like meters, or smaller scale inches and millimeters. I choose "Product Design and Woodworking - Millimeters". Millimeters are easy for me to wrap my brain around, especially if I have a tape ruler near me. When designing a ring for a specific finger size, I look up "ring size" on google, and I figure out what size I need and its diameter in millimeters. So let's say I want a US size 10 ring for my pointer finger, I see on the chart that it would need a diameter of 19.76mm, so I take my measuring tool in Sketchup and measure the inner diameter of the ring and change the value to the correct measurement.
6. MATERIAL
Before you start designing, it's vital to know what the maximum bounding box, minimum wall thickness, minimum wire diameter, and minimum clearance for the material you want to produce. Take a look at the Shapeways Material Portfolio for design guidelines on my favorite jewelry materials to work with: Sterling Silver (Premium, Polished, and Raw), Brass (Gold Plated, Polished, and Raw), Bronze (Polished and Raw), Steel (different finishes available), or in Nylon Plastic (with various colors) and Alumide (a plastic strengthened with aluminum). The cool thing about the last two plastic materials: you can make interlocking chains, woven patterns, hinges, ball and socket joints, springs, and gears!
STEEL

SILVER

BRONZE

BRASS
7. UPLOAD, PROTOTYPE, PRODUCE
Once your 3D creation is finalized in Sketchup (make sure to save it periodically) go to File, Export 3D Model, and export it as a .DAE file. Visit the Make + Sell tab on Shapeways, and click the upload button, select your 3D file, and Shapeways will show you what it would cost to order your model in all the various materials they offer. Depending on the material you choose, it can take one to three weeks to manufacture your product and ship it to your door. If unsure about your design, order it in plastic first for a cheap prototype, then once your'e sure it'll fit right, look right, and feel right, order it in precious metals. You can also add some of your own post production, like adding your own color with pen or paint.

8. SELL

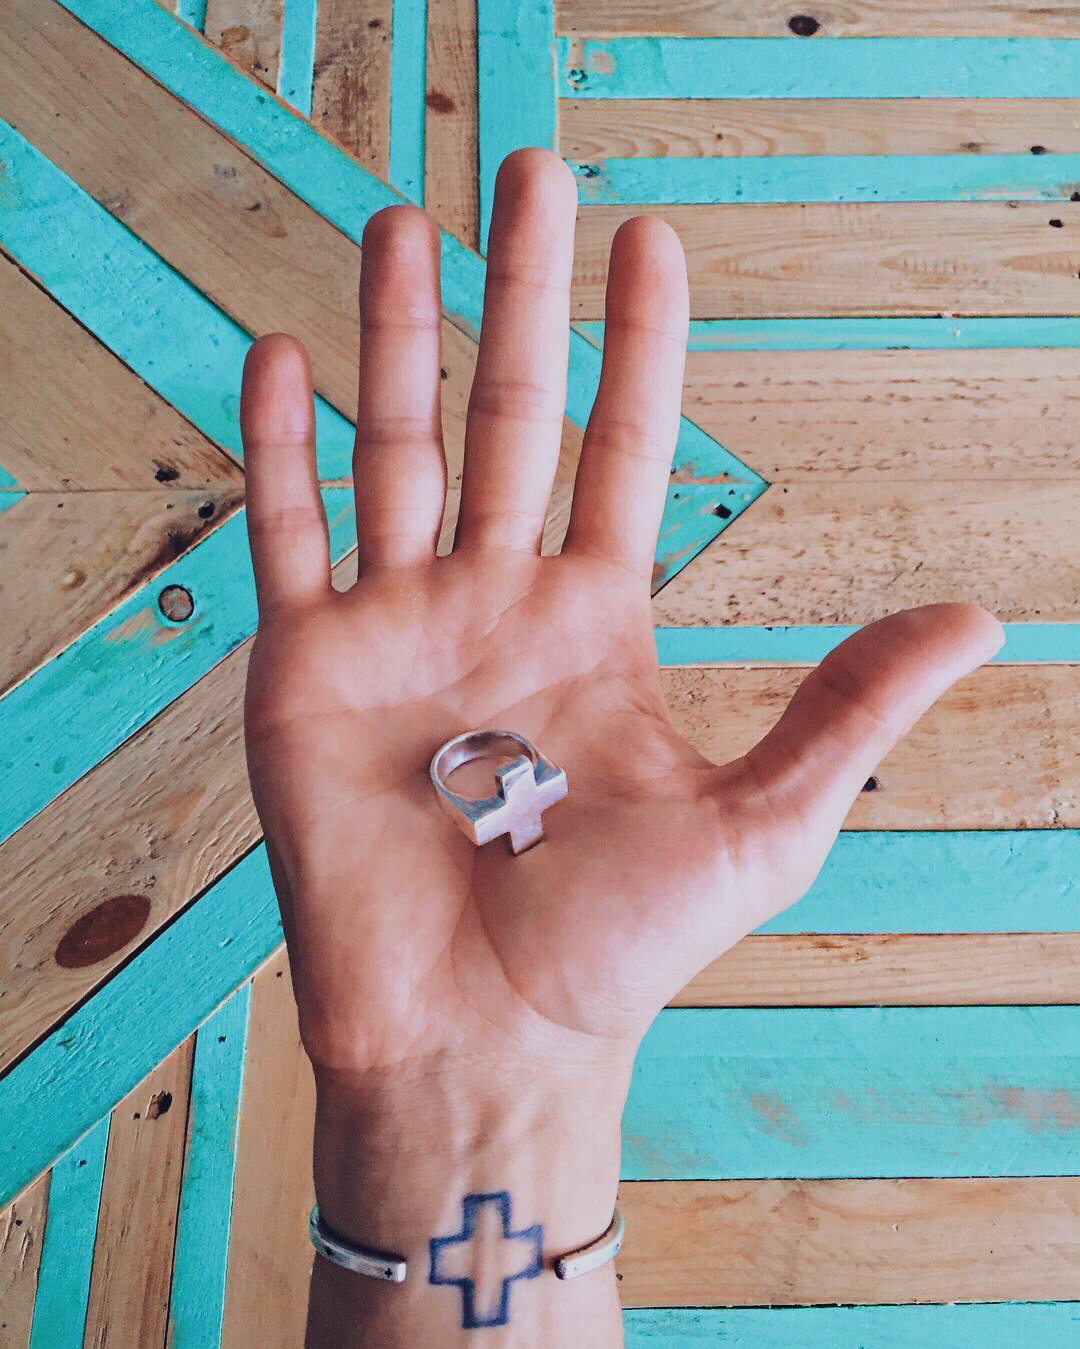
When you feel that your 3D model is ready to become a finished product to be shared with the masses, take nice photos of it! I use my iPhone 5's camera during nice daylight, and an app called Afterlight to do a quick photoshop edit and crop. After putting some thought into your photos, upload them into your model details on Shapeways. Add a description, some tag words, and decide what markup you'd like to make each time you sell one of your models online. Shapeways will take care of the production, shipping it to your customer, and pay you monthly for every model you sell. Then it's all a matter of promoting your work with a website, social media, and word of mouth!
So there you have it, with this enlightening knowledge you should have a basic understanding of how to design and print in 3D. If you know anybody with an interest in 3D printing or jewelry, feel free to share this guide!
Warm regards from New York City,
Lucas Goossens